Minecraft world has varieties of crops that can be used for different purposes. In this walkthrough, you will get a guide about the Pumpkin plant and its farming.
Pumpkin Farming is an easy process to get hands-on Pumpkins to create some items like Jack O Lantern and Pumpkin Pie. But usually building such farms is not an easy task. Moreover, the difficulties in managing the espace for pumpkins alone can be a headscratcher for you.
In this post, we’ll go through step by step process of building Pumpkin Farms in Minecraft.
Pumpkin Plants in General
Pumpkin plants grow from seeds that can be planted only on farmland. These pumpkin seeds grow into stems, giving rise to the pumpkins on nearby surfaces like dirt, grass block, coarse dirt, farmland, or podzol. The pumpkin stem only grows one pumpkin at a time as it will not grow any further pumpkins until the previous one is removed.
But it can produce an unlimited number of pumpkins. Pumpkin stems generate naturally in stem rooms of woodland mansions and also generate in Taiga and snowy Taiga.
These pumpkin seeds require a minimum light level of 10 above the stem for proper growth. For better growth of the pumpkin stem, you can use bone meal which will only concentrate on the growth of the stem and will not affect much on the pumpkin production.
The pumpkin stem connects the pumpkin to the adjacent square making five different appearances possible for the stem. These stems are technical blocks that are obtainable in Java edition or through add ons in bedrock Edition. This can be obtained via inventory editing also.
Pumpkin Farming
So, now moving to how to do Pumpkin farming in Minecraft. Farming in Minecraft is defined as the technique of producing certain items in an automated way. Here in pumpkin farming, you can create pumpkins without much work. Below are the steps below described for pumpkin farming.
1. Obtaining Pumpkin seeds
So before you start setting up the Pumpkin farm, you probably have to obtain the pumpkin seeds as pumpkins are grown from the seeds. Generally, the seeds of the pumpkins are obtained by the breaking process.
In this process, the pumpkin stem breaks, dropping 0 to 3 pumpkin seeds. With the increase in stem age, the pumpkin seeds drop also increases.
You can find the seeds in the biome with grass or in taiga village, growing in the wild. You can also find them in minecarts with chests inside mineshafts or dungeons. If you get a seedless pumpkin, you can place it in a crafting grid.
2. Requirements For Pumpkin Farming
The process requires some items like water blocks or can waterlog staircase, so 8 of them, eight observers, eight pistons, eight-building block stones, eight redstone dust, hoes, and an artificial light source like a lantern.
Apart from these items, you require some additional items for making the farm automated. This requires chests, hoppers, Minecart with hoppers, lever, Powered Rails, and Rails.
Once you are done collecting all the items, you can proceed with the preparation process.
3. Making Field and Arranging Hopper
First off, you have to start with making a farm. For this, find an appropriate area for the establishment. Though you can create one anywhere, try to find an open area that could be loaded in as otherwise, it won’t run well.
After finding a space, you have to start digging in. You can make a big or small farm. Here we are going to make a 4×4 sized farm.
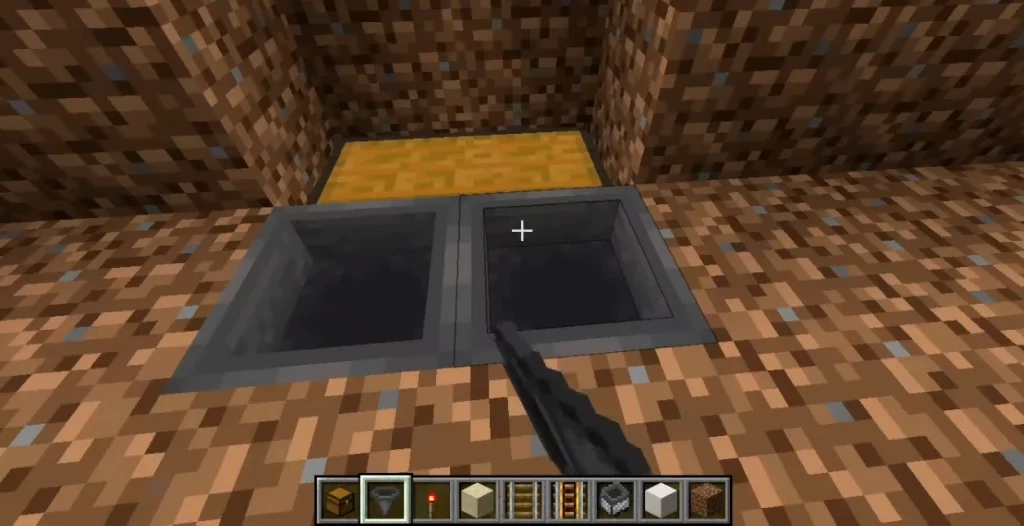
The denoted area should be two blocks deep. After making the two blocks deep hole to the 4×4 area, you have to make a hole at one of the sides of the hole. In the hole, place a hopper against the newly dug side block.
Then make two more holes behind the side block hole, similar to the hopper hole. There place two chests. Adding these chests will lead the drops into the hopper to the chest.
4. Connecting Rails
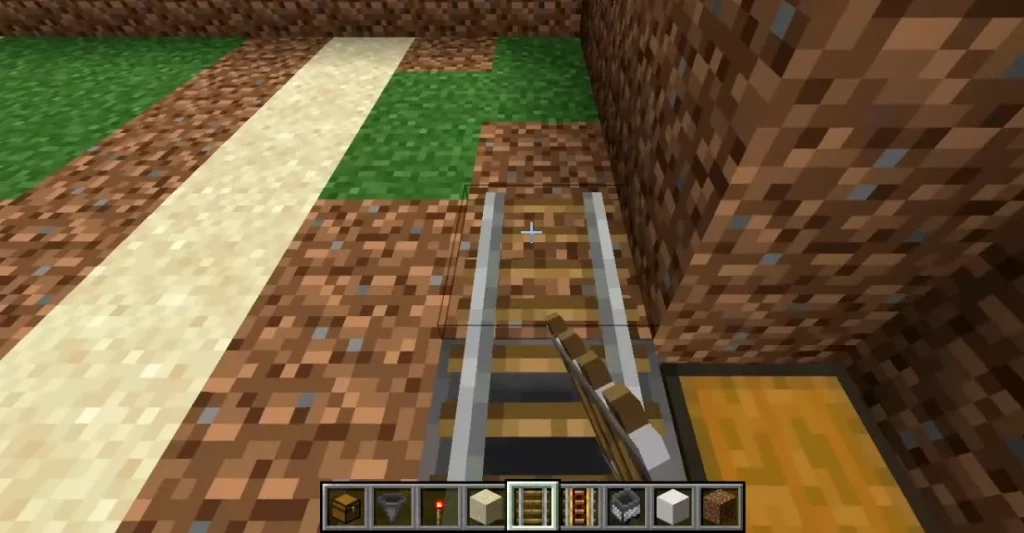
Now move to the opposite side of the hopper and start placing the rails from a corner. Lead the rails in a zig-zag manner to the other corner of the same side. If it gets messed up on the way, you can break and fix it again to make a curve.
You have to use powered rails to keep it moving with the rail. You have to set up two powered rails at each end of the starting and ending point.
5. Setting Up Lever
Once done with setting up the rails, dig a hole of one block depth at both the ends of the rails present at the same side. There place two levers to work.
6. Placing The Minecart
Now put minecarts on the rail to move from one side to another. You can also remove the side blocks if it creates obstacles for the Minecart while moving. You can also add light sources in the space you created for minecart movements.
This is also crucial because it will collect the drops and take them to the chest.
7. Observer and Redstone Placing
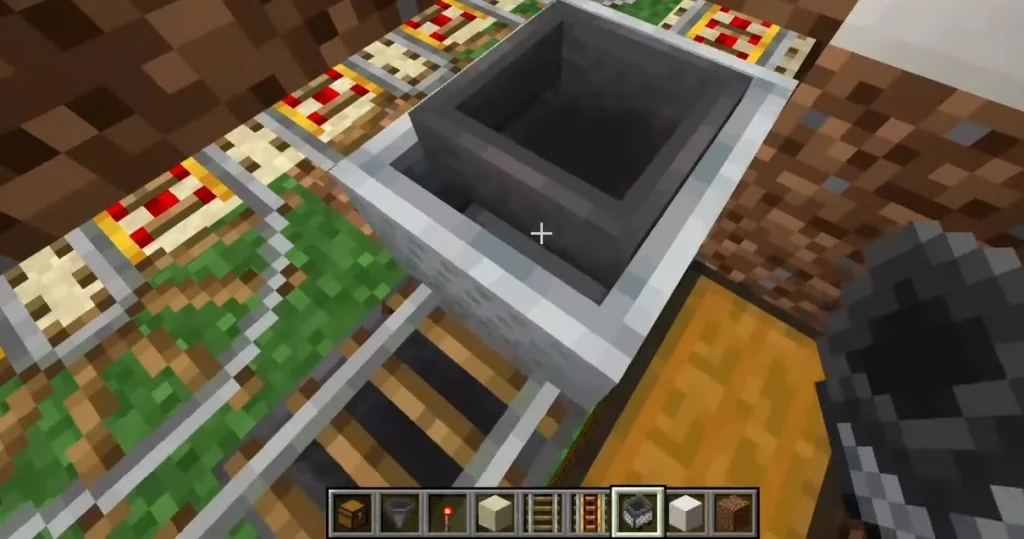
Now put a grid of red stone observers at one block high from the surface above the farmland. You can do so by putting a layer of building stone then putting a Redstone observer faced upside down. Then arrange the Redstone observers and alternately building blocks to make a grid effect. Once the farm area is covered, break all the building blocks.
After that, fill up the empty places created by breaking off the building boxes with the pistons facing down. This will create a solid ceiling of pistons and Redstone observers. Then put a solid block on each Redstone observer and Redstone dust over each piston.
Make sure to choose the solid blocks that can transmit the Redstone because the observer will send a signal to the Redstone, which will initiate the piston to harvest the plant.
8. Making The Water Source
To hide the rails, you have to fill up the upper area of the rails with dirt. After this, you need to make a water source for the plant so go to one side of the farm. There put staircases connecting each other and the dirt blocks, making a little water reservoir.
One water source is enough, but you can create one on each side if you want. Once done, put water in it, and your water area is created.
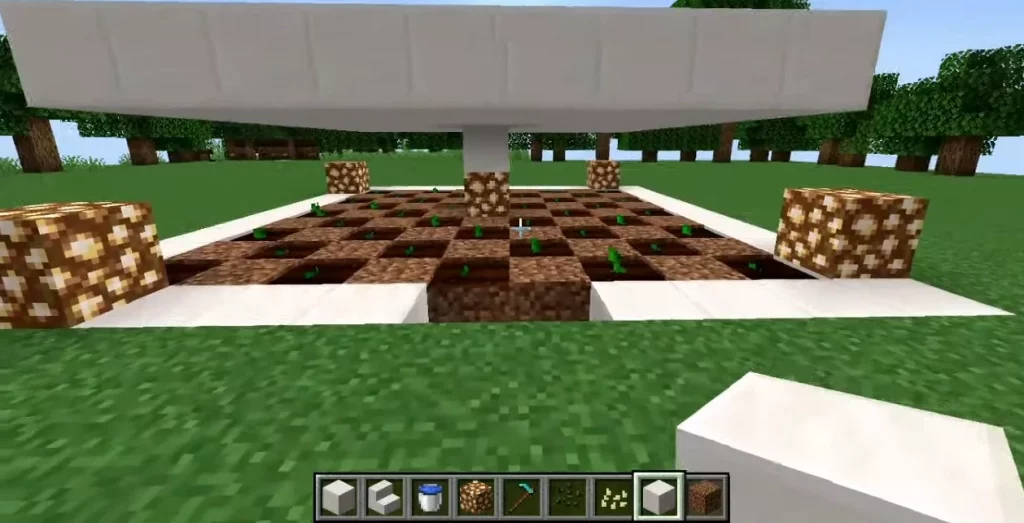
9. Planting The Seeds
Once all the preparations are done for setting up the pumpkin farm, you can add seeds. While planting the seeds, make sure to plant only under the observers so that you can observe them while they are growing.
After this step, make sure to surround the farm’s boundary with solid blocks to keep the drops inside the farm and not roll out. Once you set up a boundary, you can make a hole to enter the bottom where your chest is to collect drops.
10. Resizing The Pumpkin Farm
If you want, you can expand or downsize the pumpkin farm at your convenience. For example, if you’re going to expand the farm, you can repeat the above steps repeatedly until it fits your choice.
And If you are willing to downsize it, you can do so, but it would not be convenient to add rails and everything if you do so as the mentioned guide is already for primary size.
Other Minecraft Farms
How To Grow Minecraft Vines Expertly In Each Editions
Growing Giant Mushroom In Minecraft
How To Plant Melons – Minecraft