The borderland series introduced the sequel of action role-playing for players as first-person shooter borderland three for Microsoft window, Xbox One, and PlayStation 4 platform on September 13, 2019, and further introduced on October 30, 2019, for Apple Mac iOS. This game was developed by gearbox software and published by 2k games. This genre of the game fit for both single and multiplayer mode.
The format is the same as the concept of win and gain. Players are allowed to participate in different missions and quests and win to gain multiples rewards and abilities. The game is a set of challenges, and dead claptrap is one of them.
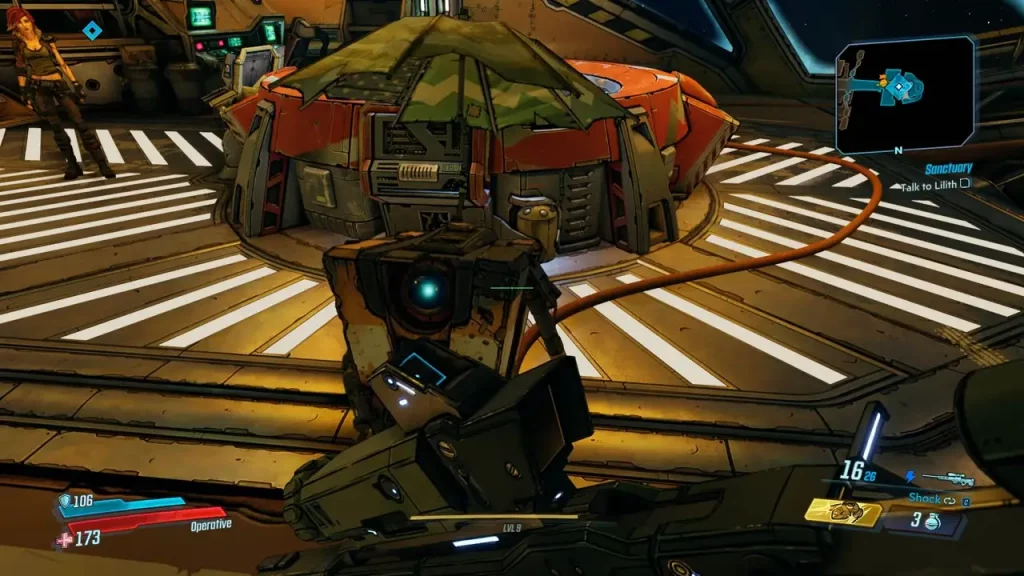
Borderland 3 Dead Claptrap are the missions located in particular locations that target the challenges all over the game setup. This challenge has it tracking subordinate who keeps records for the players and guides them in defeat.
Here the tracker is claptrap, which eventually builds multiple female companies and indulges with vault hunters that find spare essentials for non-operational CL4PTP robots for a company.
What is Dead Claptrap in Borderlands 3?
Dead claptrap is directing those challenges that initially focus on the exploration section of the game. Players can access these challenges with the help of tab R in the map as these quests belong to the part of crew challenges that are easily visible in the playable map and combining have the list in “zone progress.” There are a total of 35 challenges of Dead claptrap.
Borderland 3 Dead Claptrap Overview
The tracker claptrap will initially identify the location by the glance of minimap or from another medium. They notify the about every presented plan to the player and get closer contact with dead claptrap units. Trackers describe all the essentials he witnessed about the speech and core processor found in the claptrap decommissioned team that formally captured VR-ON1CA.
Claptrap gathers all the spare parts of the vault hunter as he realizes the lousy state and considers VR-ON1CA the last one for defeat. Therefore he puts all pieces assembled and rebuilds all the equipment with his best form comes from the galaxy on dead claptrap and successfully end up his emptiness.
The main motive behind the challenge of dead claptrap is to figure out all minute sections and explore the map as moderately as possible to help the player’s requirements straightforwardly.
All sides of the map are not visible to the naked eyes, so the trackers can absorb more precisely before it comes for the payers in the battlefield, as may be more appropriately hidden and some are clear to view.
The dead claptrap unit’s ending typically encountered in the humorous situation, so the vital part is to gather all operational mechanisms is done by the vault hunter, as it has asked by the claptrap to perform these tasks at the end. Players can track the progress records of VR-ON1CA from the claptrap’s room.
The progress for VR-ON1CA and claptrap both depends on the game’s progress as they eventually gain all powers and experience heading towards the end. Hence they both captured the new lines of awkwardness and flirtation at the final, respectively.
After all this exploration done by claptrap with the help of VR-ON1CA, players’ rewards helped level up in challenges. 10 Eridium and experiences and some money gained after completing the mission for every dead claptrap.
Lastly, if the players complete all 35 challenges of dead claptrap, they gain two identical baby-makers pistols as a reward, one given from the VR-ON1CA and one from the claptrap itself.
Borderland 3 Dead Claptrap Locations (Specific Regions)
Some of the dead claptrap locations as per their planet name:
Nekrotafeyo
Desolation’s Edge
1. Central area (Conqueror) -> South main central -> crashed Maliwan ship -> base of the ship -> at the edge.
2. North-east region -> roadside of Quietus Pike -> Tazendeer Ruins -> jaws of the big plant.
1. Cadenza -> outside the temple -> far left wall -> back of alcove -> wall near red vines.
2. North region -> below Charnel Keep -> twisting paths (The Last House) -> junction near Cadenza -> first left from Charnel Keep -> circle around right wall -> platform with waterfall.
The pyre of stars
1. Far north region (Barren Divide) -> jump across Promethea altar -> look south at the center region -> lower ledge -> large structure.
Eden-6
Floodmoor basin
The first two can be found at Lumberton Junction (north of the region); the other two can be seen on the Southside of Fort Sunshine (small hole) and at the north of the zone.
The anvil
The first two are in the 1st cellblock area and the other two are in the north region of the main central area (Yard).
Blackbarrel cellars -> Premium Casks entrance -> first main room -> lower level of north side -> at the center -> on a table.
Jacobs estate
The first two in the Grotto are under the main estate and the other two in estate proper near the north region of Ancestor’s Hall.
Voracious canopy
At Green Labyrinth area, inside it find a way to a large waterfall and reach the Eridian style cave, climb up the eridian writings to reach the purple shaft, and keep climbing till you find it.
Ambermire
The first two can be obtained in the Ambermire region (Moist Hoist area) near the end of shantytown where a small shack is placed, the Claptrap is at the front porch. The other two are at the southwest of Tig Big Rig at the end where the turrets can be seen, near the containers.
Athenas
Academic District, Anchorhold region at the end zone.
Windward Plaza, near the isolated shack on a couch.
Promethea
Meridian Outskirts
1. Outskirts of the city (grassy valleys) -> south edges at the valley’s end -> small cave -> hidden in anyone egg sacs.
Meridien Metroplex
1. Bottom stairwell -> straight up to temporary Atlas base -> ramp down the tunnels -> small path on the left -> between the 2 sets of stairs.
Lectra City
1. Market sqaure from the seaport -> end of the Market square -> jump on low roofs -> discarded robot.
2. Center city (lower levels) -> Downtown square area -> down the stairs -> bottom corner -> “Welcome Home” symbol.
Skywell-27
1. Children Vault -> upper level of rocks -> large rock at the middle -> tall satellite tower.
2. Lower level of Skywell (Fuel area in Observation Deck) -> move south (generator rooms) -> move west (enter room) -> reach the second floor -> alcove with red light -> follow yellow line.
Atlas HQ
1. Self Actualization (2nd floor) -> west entrance to bar -> slot machine -> behind the counter.
Neon arterial
1. End of the region -> far north-west from Apollyon Transit Station -> Green Diamond Station -> move down in the area -> north side of the tracks.
Pandora
Ascension Bluff
1. Main building (Path of Sacrifice) -> plateau path -> center divider (large debris) -> climb up.
The Drought
1. Scrapyard (Ellie’s Garage) -> Drought’s entrance (path behind garage) -> makeshift demolition -> behind stacked cars -> near far ledges -> over the abyss.
2. Middle area (rest stop) -> get a Ride station -> look for the symbol ‘Catch A Ride’ -> below it -> in between the ruined cars.
Devil’s Razor
1. Sin-e-plex (north-east of Devil’s Razor area) -> large junkyard -> drive-in movie screen -> northwest corner (below movie screen) -> small alcove -> little hovel.
The Splinterlands
1. Middle area (cliffsides) -> entrance of roller-coaster -> large plateau -> near broken car with umbrella -> large tire.
Konrad’s Hold
1. Small hidden room (Carnivora) -> Stacked Deck -> move south -> open doorway (red light shining) -> trap door.
Cathedral of the Twin Gods
1. Between the Courtyard and the Outer Sanctum -> search for small room -> get inside from window -> move to hallway -> doorway on right wall -> destroy wooden boards -> enter the room -> nailed on large red V.