Roblox is a platform to play games as well as make them. This platform has witnessed many great game developers as well as players. Many games have more than 500 million views to explain how big this platform is. There are millions of games in Roblox, featuring simulators, Prison Escape games, Disaster Survival game, or Breaking Point game. Roblox Studios is used to make the games over this platform.
Roblox Pathfinding is the shortest and smartest way of finding the routes between two points. If your game contains NPCs, these Pathfinding algorithms can make the NPC move efficiently between the points. You can use several algorithms, like Dijkstra’s algorithm, to find paths between the points. But in all cases, the default Pathfinding object has proved to be most efficient in deducing the routes between two points in the game.
What is Roblox Pathfinding?
In coding, there are famous ways of optimizing the path between two points in the graphs. These algorithms are fundamental in scenarios like Google Maps, Game Pathways, etc. In Roblox, you can move between the two points on the map efficiently using Roblox Pathfinding. This prebuilt object allows you to use the developers’ AI system to move between two points in the game.
Unlike other games, Roblox Pathfinding doesn’t require any prior knowledge about algorithms. You can just put any two points in the space and apply the object. This flexibility allows the budding developers to use them and move the characters as required easily.
Syntax of Roblox Pathfinding
The syntax of Roblox Pathfinding is straightforward and is only one-liner. With the use of syntax mentioned below, you can instantiate the Pathfinding in a variable.
global PathFindingObject = game:GetService("PathfindingService")Now you can use Roblox PathFindingObject to apply the points and get the distances between those points. Afterward, you can create a Path object with the parameters listed below –
global path_objects = PathFindingObject:CreatePath(params)The params section can be added with the following attributes –
| Key | Datatype | Default Value | Explanation |
| AgentRadius | Integer | 2 | Size of your Humanoid object. Pathfinding will make sure that your Humanoid can pass through objects before calculating the path. |
| AgentHeight | Integer | 5 | Height of your Humanoid object. Pathfinding will take care of finding the path that has enough space for your Humanoid to pass. |
| AgentCanJump | Boolean | True | Decides whether your off-mesh jumping is allowed or not. For false, it will select a path where you can walk and reach. |
Methods of Roblox Pathfinding
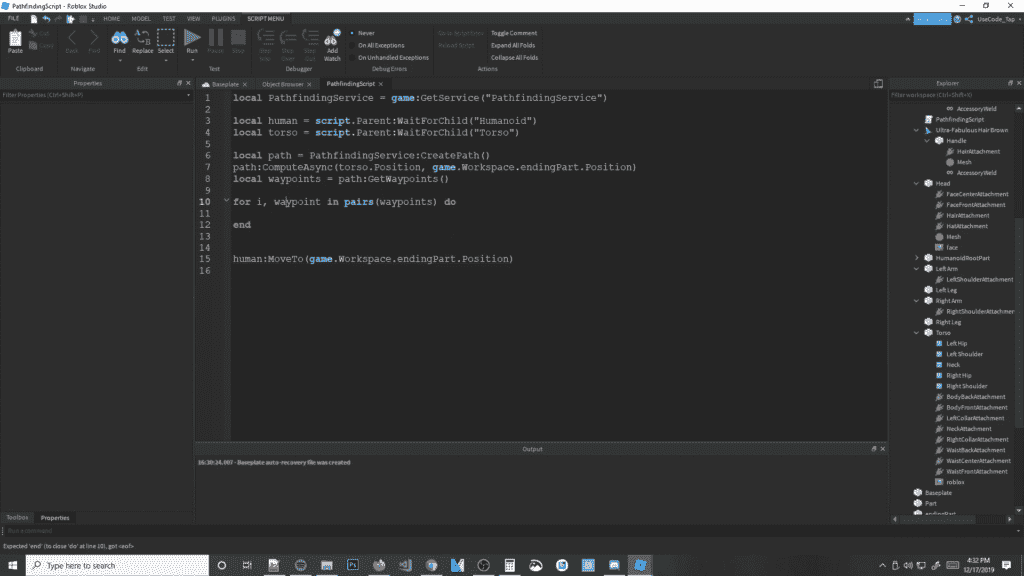
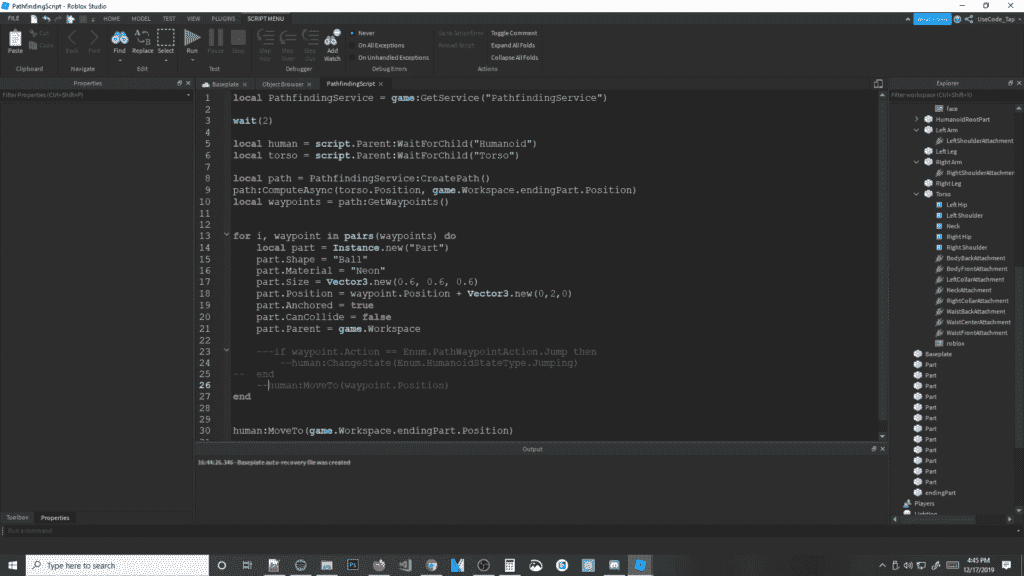
The following code makes the use of a Roblox Pathfinding algorithm to find a path for a Humanoid. A good path is a path in which your Humanoid doesn’t die while traveling.
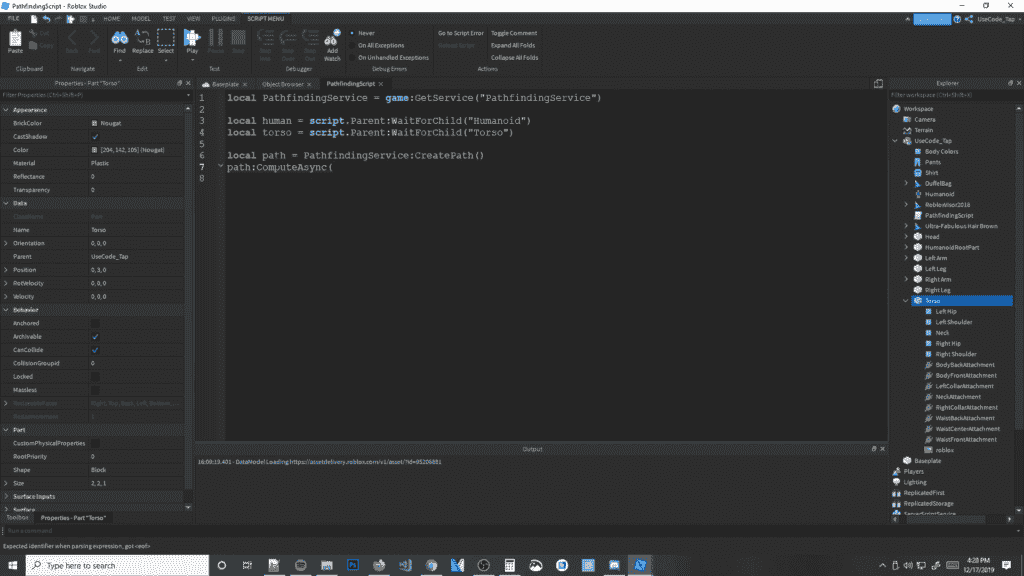
local PathfindingObject = game:GetService("PathfindingService")

-- Variables for the zombie, its humanoid, and destination
local zombie = game.Workspace.Zombie
local human = zombie.Humanoid
local destination = game.Workspace.PinkFlag

-- Create the path object
local path = PathfindingObject:CreatePath()
In this example, we first create an object Zombie and get its Humanoid. Then we fetch the location of the Pink flag. After choosing the starting point and destination, the Pathfinding object will automatically find a path between them and store it in the variable path.
Getting The Efficient Path
When finding the efficient path, just creating the path object will not get you the path. You have to use the ComputeAsync method to find the path between two passing points.
local PathfindingObject = game:GetService("PathfindingService")

-- Variables for the zombie, its humanoid, and destination
local zombie = game.Workspace.Zombie
local human = zombie.Humanoid
local destination = game.Workspace.PinkFlag

-- Create the path object
local path = PathfindingObject:CreatePath()

-- Compute path
path:ComputeAsync(zombie.HumanoidRootPart.Position, destination.PrimaryPart.Position)
The ComputeAsync method will compute the most efficient path between the two points passed as a parameter. This async function works in the background, and you can execute other things while the script calculates the path.
Getting Path Waypoints
Then use the GetWaypoints method to get the path that has been computed. These waypoints are the series of points in your path you need to take to reach the destination.
local PathfindingObject = game:GetService("PathfindingService")

-- Variables for the zombie, its humanoid, and destination
local zombie = game.Workspace.Zombie
local human = zombie.Humanoid
local destination = game.Workspace.PinkFlag

-- Create the path object
local path = PathfindingObject:CreatePath()

-- Compute path
path:ComputeAsync(zombie.HumanoidRootPart.Position, destination.PrimaryPart.Position)

-- Receive the waypoints
local waypoints = path:GetWaypoints()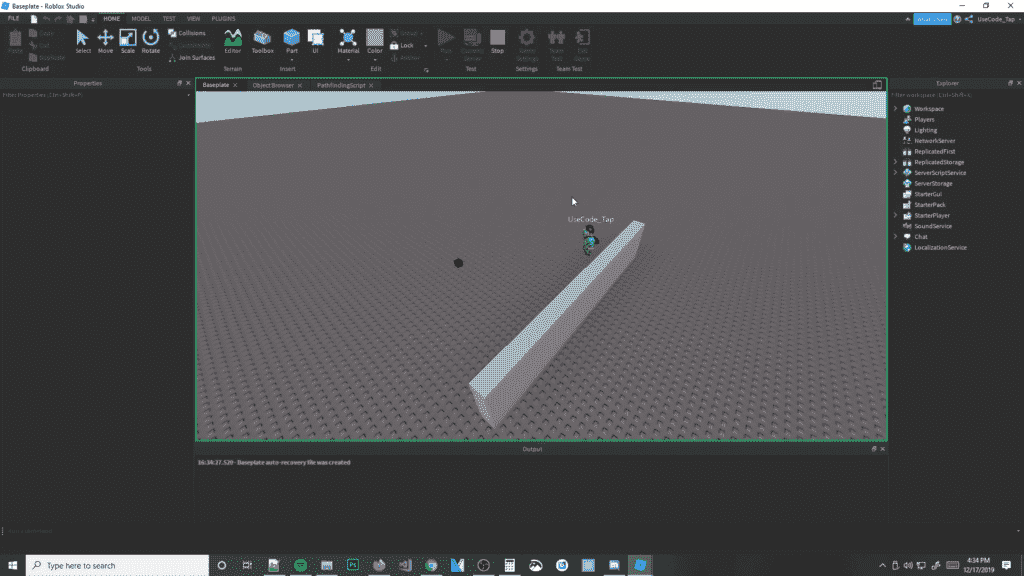
After computing the waypoints, you can fetch the waypoints by calling the GetWaypoints method. This method will return you with an array of waypoints between the given path.
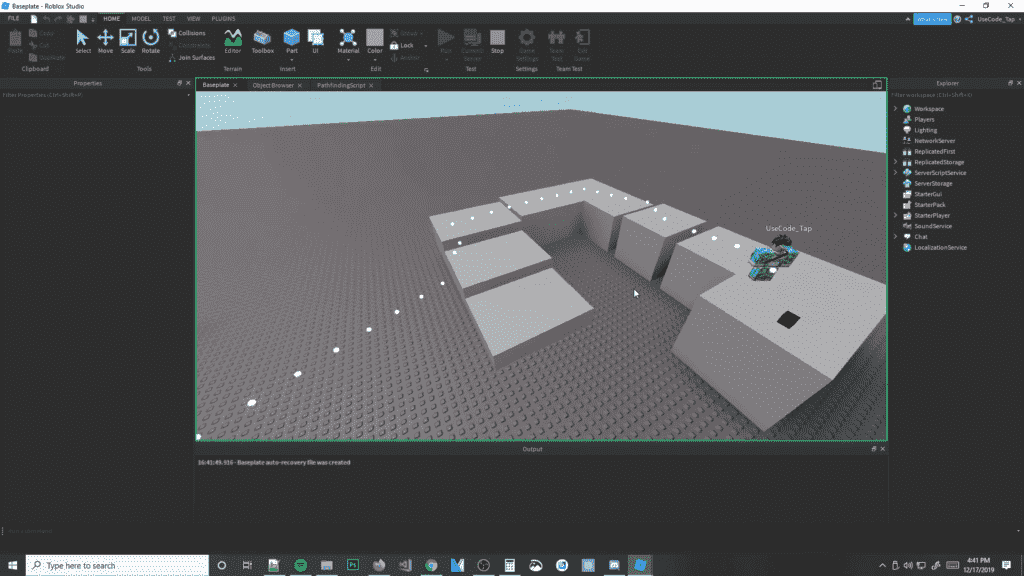
Displaying the Waypoints
You can loop through the waypoints to display them. In the example below, we’ll highlight the path be spawning neon balls.
local PathfindingObject = game:GetService("PathfindingService")

-- Variables for the zombie, its humanoid, and destination
local zombie = game.Workspace.Zombie
local human = zombie.Humanoid
local destination = game.Workspace.PinkFlag

-- Create the path object
local path = PathfindingObject:CreatePath()

-- Compute path
path:ComputeAsync(zombie.HumanoidRootPart.Position, destination.PrimaryPart.Position)

-- Receive the waypoints
local waypoints = path:GetWaypoints()

-- Loop through waypoints
for _, waypoint in pairs(waypoints) do
	local ball = Instance.new("Part")
	ball.Shape = "Ball"
	ball.Material = "Neon"
	ball.Size = Vector3.new(0.6, 0.6, 0.6)
	ball.Position = waypoint.Position
	ball.Anchored = true
	ball.CanCollide = false
	ball.Parent = game.Workspace
end
Moving in the Path
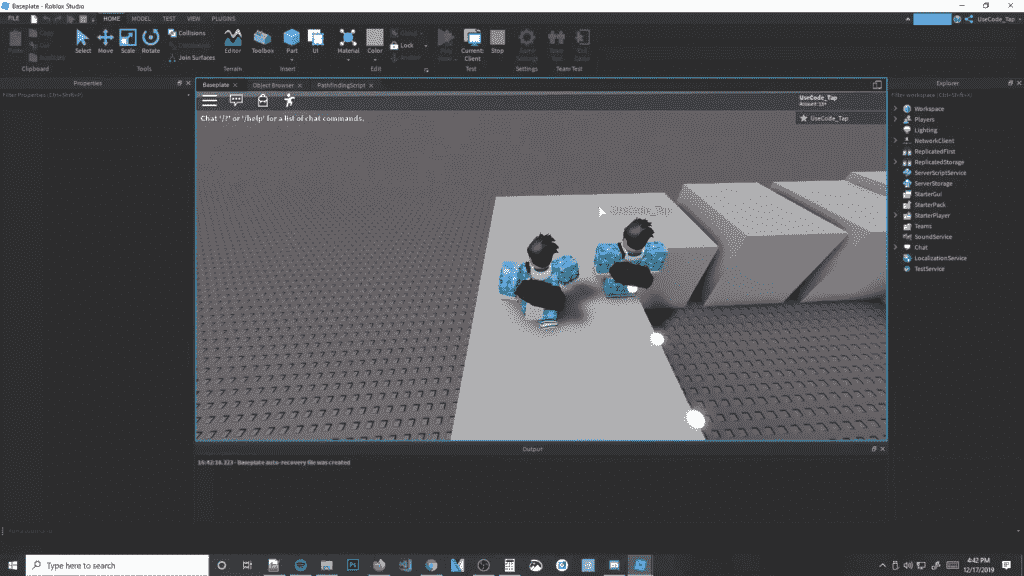
The last step in this process is to move the Humanoid. We’ll use the MoveTo method of humanoid to reach the points and travel along the path.
local PathfindingObject = game:GetService("PathfindingService")

-- Variables for the zombie, its humanoid, and destination
local zombie = game.Workspace.Zombie
local human = zombie.Humanoid
local destination = game.Workspace.PinkFlag

-- Create the path object
local path = PathfindingObject:CreatePath()

-- Compute path
path:ComputeAsync(zombie.HumanoidRootPart.Position, destination.PrimaryPart.Position)

-- Receive the waypoints
local waypoints = path:GetWaypoints()

-- Loop through waypoints
for _, waypoint in pairs(waypoints) do
	local ball = Instance.new("Part")
	ball.Shape = "Ball"
	ball.Material = "Neon"
	ball.Size = Vector3.new(0.6, 0.6, 0.6)
	ball.Position = waypoint.Position
	ball.Anchored = true
	ball.CanCollide = false
	ball.Parent = game.Workspace
        -- Move the Humanoid
	humanoid:MoveTo(waypoint.Position)
	-- Wait for the Humanoid to reach the position
	humanoid.MoveToFinished:Wait()
end
In this code section, we’ll loop through the waypoints array created by Roblox Pathfinding and spawn a Neon ball at every waypoint of the path. This will serve as the same route for the Humanoid. Next, we’ll use the MoveTo method of Humanoid to reach the destination. But in some cases, there might be some blocked paths in the way. We’ll handle those paths in the next section.
Handle Blocked Paths With The Help Of Roblox Pathfinding
In finding the paths, there are many obstacles in the way. These obstacles may stop you from crossing certain points. So how do we take care of such situations? It’s simple; you just need to create an obstacle hander for your path. This will handle the cases where your paths are blocked. Roblox Pathfinding will create the best possible way for your path, but some objects might interfere with the path in a dynamic world.
local function followPath(destinationObject)
	-- Compute and check the path
	path:ComputeAsync(zombie.HumanoidRootPart.Position, destinationObject.PrimaryPart.Position)
	-- Empty waypoints table after each new path computation
	waypoints = {}

	if path.Status == Enum.PathStatus.Success then
		-- Get the path waypoints and start zombie walking
		waypoints = path:GetWaypoints()
		-- Move to first waypoint
		currentWaypointIndex = 1
		humanoid:MoveTo(waypoints[currentWaypointIndex].Position)
	else
		-- Error (path not found); stop humanoid
		humanoid:MoveTo(zombie.HumanoidRootPart.Position)
	end
end

local function onPathBlocked(blockedWaypointIndex)
	-- Check if the obstacle is further down the path
	if blockedWaypointIndex > currentWaypointIndex then
		-- Call function to re-compute the path
		followPath(destination)
	end
end

-- Connect 'Blocked' event to the 'onPathBlocked' function
path.Blocked:Connect(onPathBlocked)
At first, we created a function called onPathBlocked. This function handles the situation where your Humanoid faces an obstacle. This function checks if the blocked waypoint is ahead of the current waypoint. If this is true, then it calls the follow path function to re-compute the path. After recomputing, it follows the new path to the destination.
Follow a Player by using Roblox Pathfinding
The following script computes the distance between the player and an NPC and makes it follow the NPC. This script is really useful in treating pets for your players. By constant following process, AI will make sure they follow the player using the optimal path.
local npcRef = NPC.HumanoidRootPart

local function NearestPlayer(minimumDistance)
    local closestValue = minimumDistance or math.huge
    local closePlayer
    for i,v in next, game.Players:GetPlayers() do
        local Character = v.Character
        if (Character) then
            local humanoid = Character.Humanoid
            local HRP = Character.HumanoidRootPart
            if (humanoid.Health > 0) then
                local magnitude = (npcRef.Position - HRP.Position).Magnitude
                if (magnitude <= closestValue) then
                    closePlayer = v
                    closestValue = magnitude
                end
            end
        end
    end
    return closePlayer
end
Roblox Pathfinding using Constraints
By default, the Pathfinding algorithm has constraints for all the available paths. If there is no possible way from destination to source, the AI won’t work. More constraints can be added by creating a local variable and then using the metadata generated by AI. For example in the above section, we made an NPC follow a player continuously. This technique uses a local variable ‘magnitude’ to get to the specified path.
Other Coding Articles –
Roblox math.random | How to use math.random() efficiently in Roblox
Tycoon Creation in Roblox Studios
Final Words
Roblox Pathfinding has provided some best ways to reduce our coding task and save energy in developing the game. The developers have really created a masterpiece of Lua for the game development in Roblox. There are tons of Lua tutorials available on Roblox’s developer website, and they are increasing them to make sure everybody should be able to create games easily.