When life gets boring, we entertain ourselves by doing certain things, such as watching videos, reading books, gardening, and playing with friends. Video games play a huge role in creating new friends and enjoying your time. People started to chat and play with other players in Roblox.
Roblox Model is an important feature that is available in the Roblox platform. This game not only involves you to play rather insists you be very creative. This feature allows the players to create their own model, and it is purely unique.
Roblox is a wide online platform that is created to bring all the game users together. It gives access to the games that other players create. As a result, various games are being created every day, and millions and millions of people play them. David Baszucki and Eric Cassel create it. Creating a Roblox Model is one of the interesting features that it possesses.
What is a model in Roblox?
Making a model in the Roblox game will help a player to create a cool death trap. Many players prefer doing a Roblox model because it can be used for various reasons. Roblox Model is generally known as combined parts, and it is important to make it in a game. Unless or until you publish a model, it can’t be used by all users. There are some 10 magic steps that you have to follow to make a model in Roblox.
Step-1: Open Roblox Studio
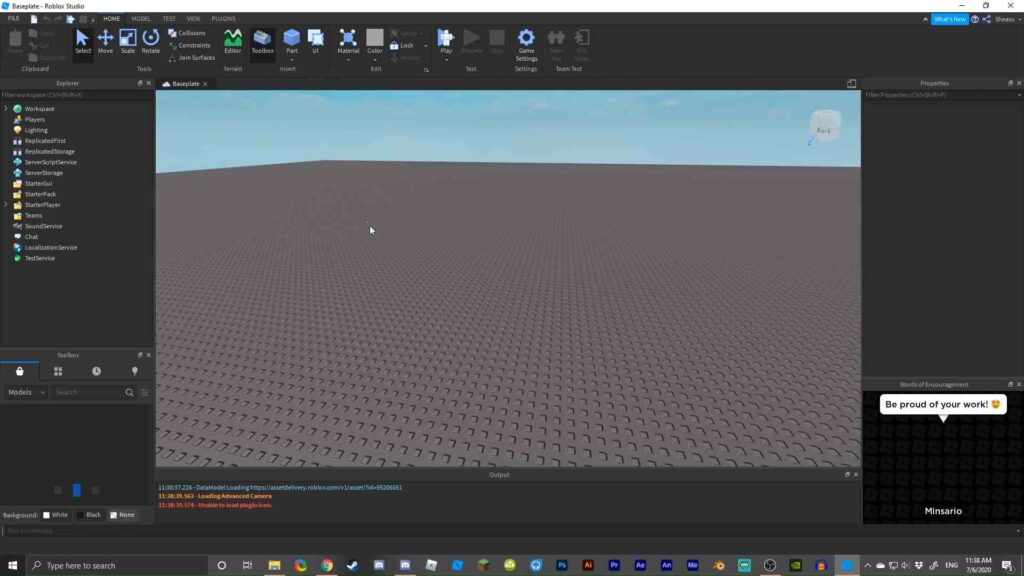
Anything that should be performed should have the source to do. So, to make a model, we need a platform to perform. And for that reason, you must have Roblox Studio, also known as Roblox Developing System. If you don’t have it, no worries, it can be easily installable, and you can get it by checking out the Develop Section on the Roblox website.
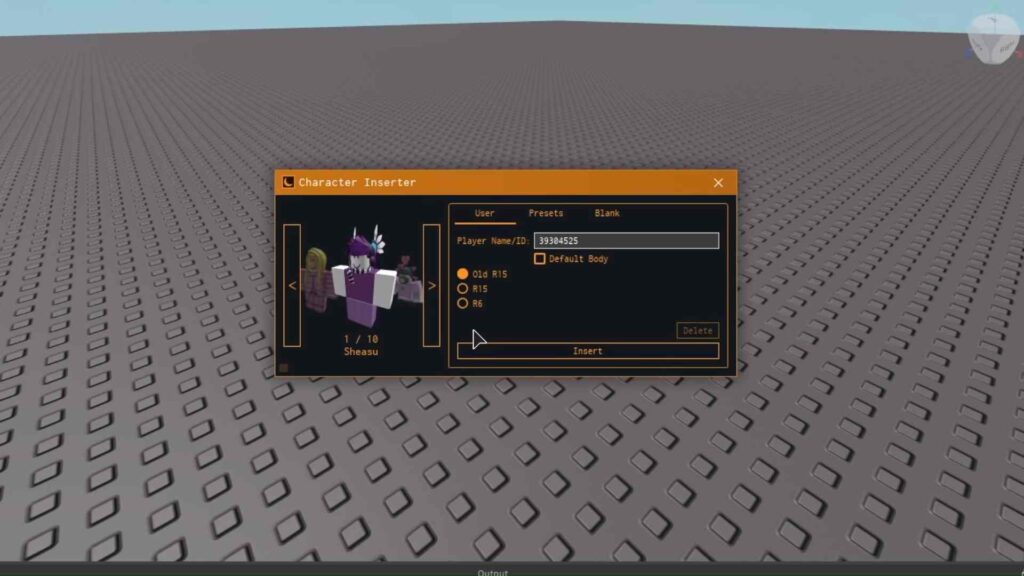
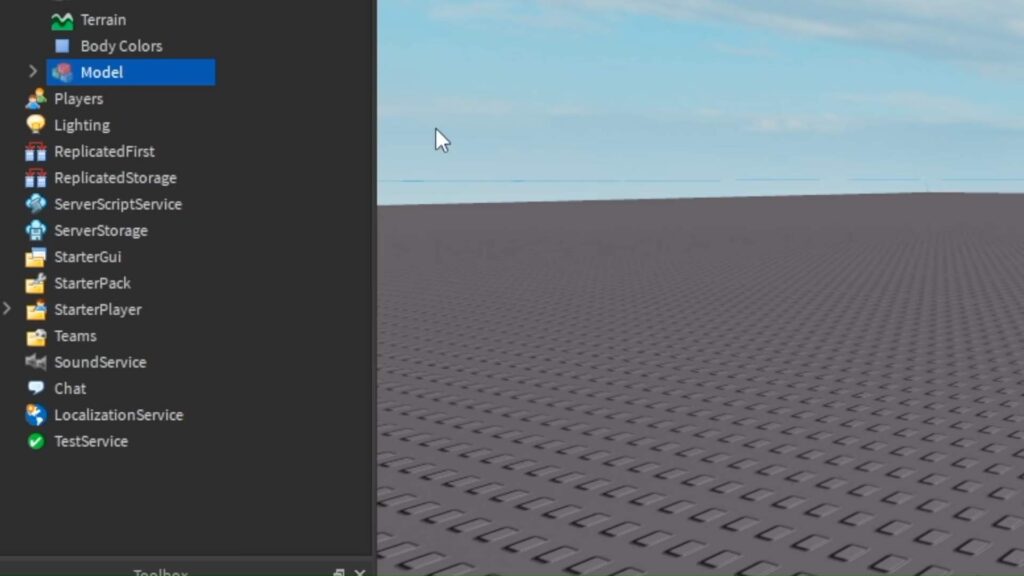
Step-2: Find The Right Place
Before we start building a building, there must be a basement that acts as a base for the entire building. In the same way, before creating a model, we need a place to start over. Moreover, making a model is similar to creating a game. You can create or open a place so you can place your model there and start your model.
Step-3: Creating an Item in Roblox Studio
Every single drop forms an ocean. In the same way, the Roblox model is not something that you are going to keep and finish it, rather it is a combination of one or more parts, and you combine or modify those parts to get the exact model used in the game.
And this will result in showing those models as real-life objects. You can start your first part by going to the model tab and selecting which part you are about to build by clicking the drop menu labeled part. As a result, your first part of the Roblox model is done.
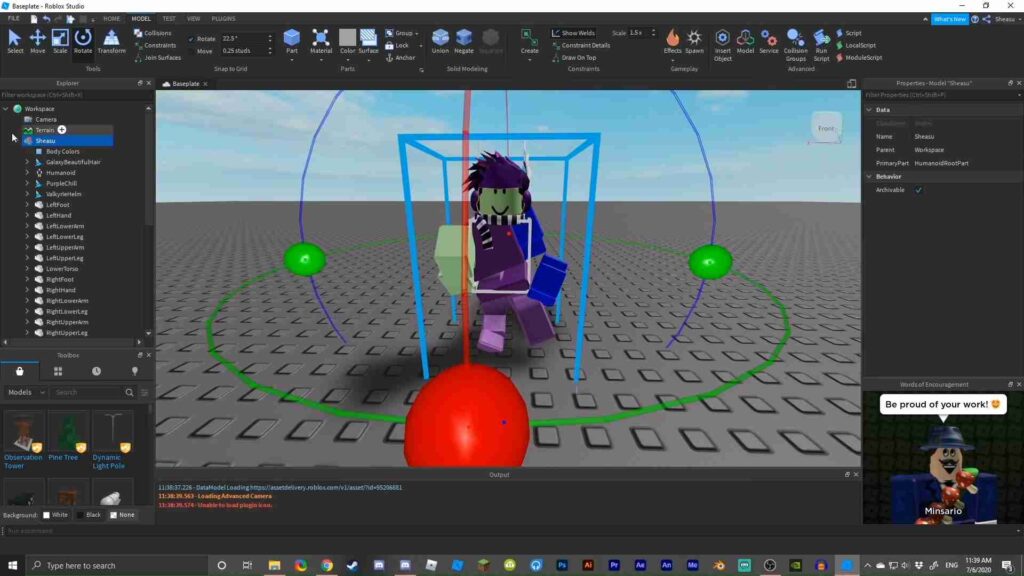
Step-4: Configuring the Part
We create our own Roblox model because we wanted to be in our own style, and our style will definitely be filled with different colors and features. The same thing can happen here too. There are different tools available to create your model. And they are, Move, Transform, Rotate, Scale, and Color. With the help of these tools, you can make your Roblox model part look better and colorful. And so the model will be exactly like what you want it to be. Your model will look more advanced when you make it as real as possible.
Step-5: Keep Building
The next step is that you should do to keep building with the parts to create a lively model. With the available parts, you can build your Roblox model until it is good enough. Only if your model is real it will be used by all in the game.
Step-6: Group Together
If your aum is to create a simple and easy model, then this is your last step. To make your parts look like a model, you have to group them. Select all your parts by clicking Shift and select all your model’s parts in the Workspace tab. Soon after you select the parts, group them by clicking Group. If this seems very hard, you can make it simple using the Keyboard shortcut Control+G.
Step-7: Additional Features
If your image doesn’t stop with a simple Roblox model, you can go ahead and add special features to make it special and colorful. If your wish is to add special effects, be ready to advance by adding scripts and effects. Features like kill blocks, buttons are also included in this and can create anything from your imagination. You have the opportunity to add them to user Roblox Model parts. You can add four different features. They are,
- Functions
- Constraints
- Effects
- Other scripts
Step-8: Save Your Model
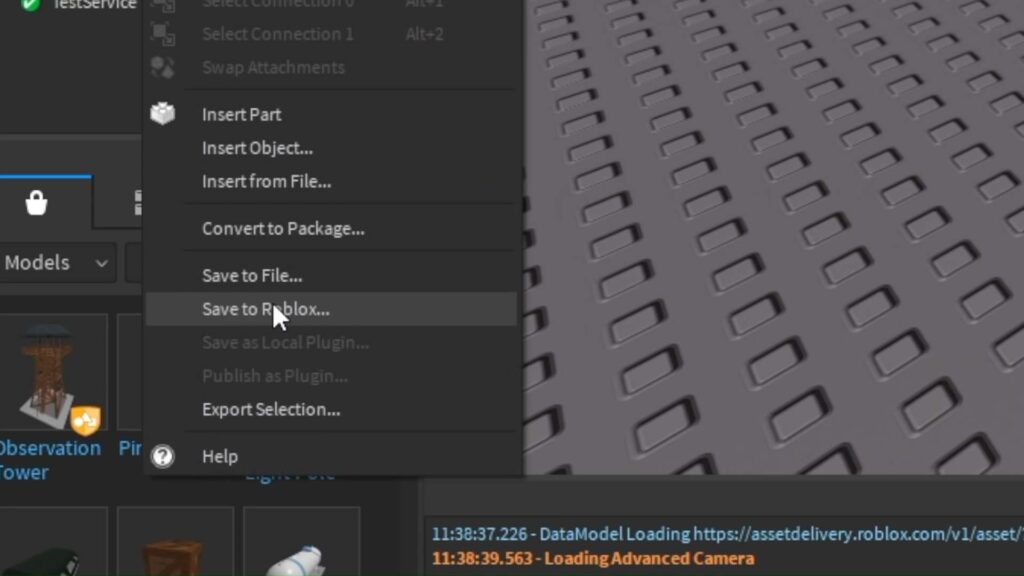
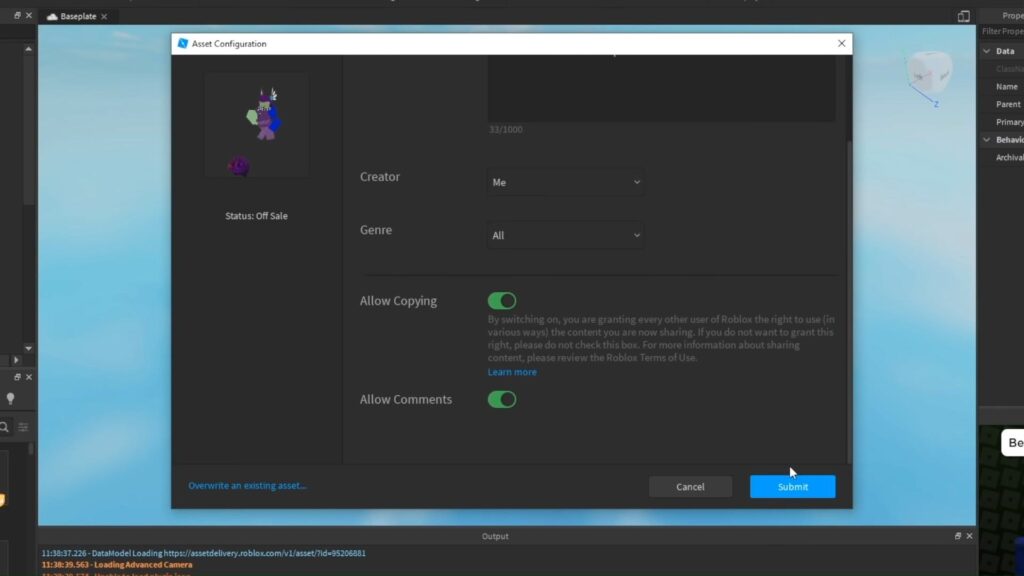
After completing your model with all the effects and features, right-click on the model seen in the explorer menu and click save to Roblox. If you want your model to be placed in the Models section, you have to save and publish it. Fill in the chart that is given and complete it by clicking the big button.
So it doesn’t mean that other users can buy your Roblox Model. To know exactly what it is, read fully the bullet point that is given right below. If you aim to sell your Roblox Model, then click the button that is on the left. Read the points given and save your Roblox Model as a new asset so that other users can buy and use them in the toolbox.
Step-9: Wait For A Confirmation Pop-up
There is a possibility of getting errors in this process. So wait for the confirmation message and check whether your process is succeeded or not.
Step-10: All Done!
Don’t Worry! Every hard work when succeeded should have some enjoyment. And this step is for enjoying your success. Get your Roblox Model in the section and enjoy it.
Tools
Move
The move will help you to move the parts that you have created for your model. It does by scratching the two lines, and as a result, you could find your part move upwards or right/ left.
Scale
If you want to maintain a certain size for your parts, you can easily do it with this tool. There will be three movable circles, and with that, you can control the size by width, height, length, etc
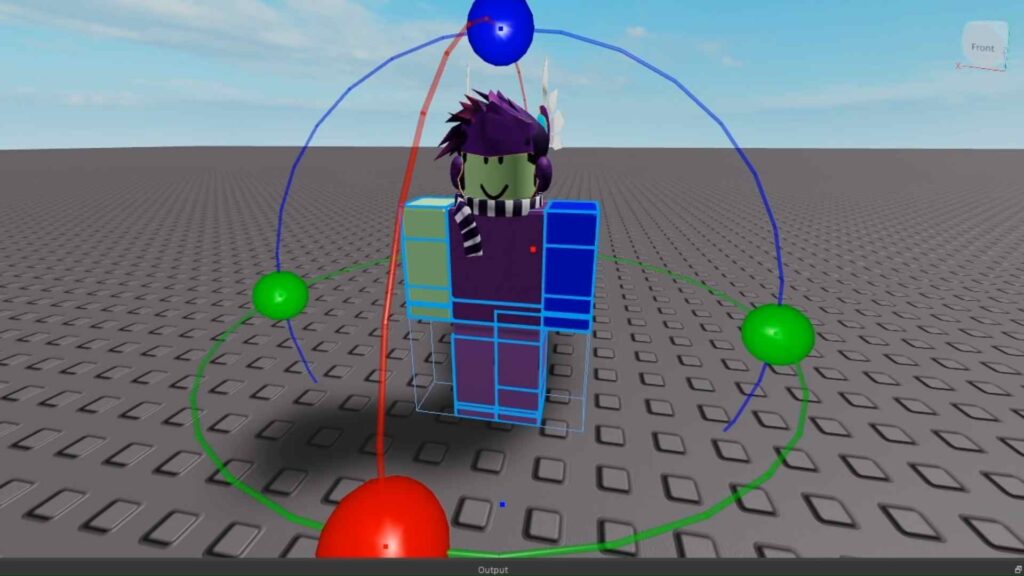
Rotate
It helps to rotate all parts that you create for your Roblox model. When the circles are touched, the part will bend in any possible direction and angle.
Transform
It is an advanced version of the scale, move and rotate tools and has many more possibilities to perform.
Color
We know that your imagination is colorful and unique, and so this tool is available. Using this tool, you can color the parts that you make.
See Also
How to Wear Two Hairs on Roblox
Solve Roblox Error Code 524 Using 4 Easy Steps
Roblox Horns To Awesome Devilish Look