

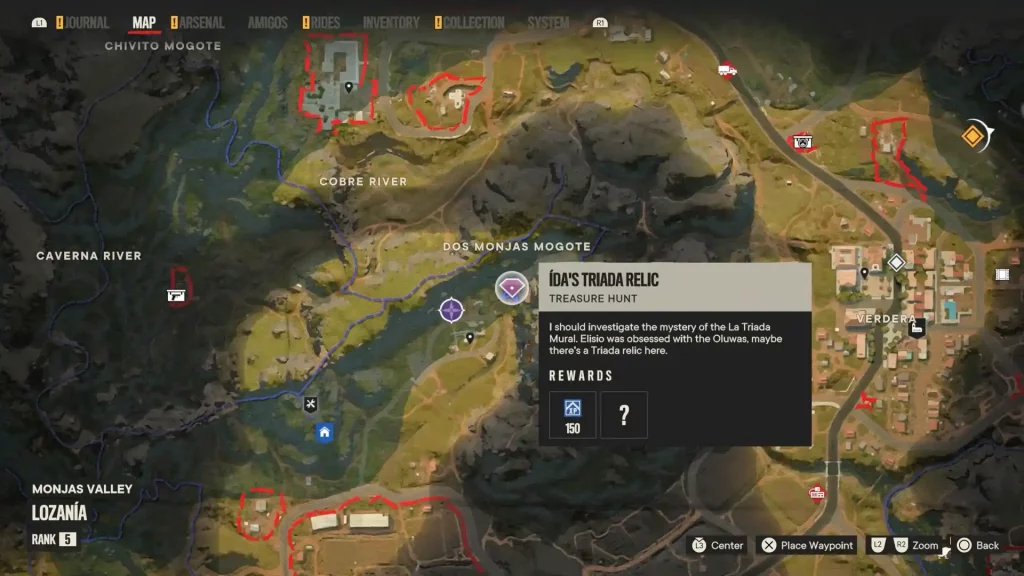
Ida’s Triada Relic Treasure Hunt – Far Cry 6 begins at the La Triada Mural in Lozania. The rewards of this treasure hunt include 150 XP and Ída’s Sigil (headgear). This hunt would require you to locate the Treasure Hunt starting point in the open world and read the note at its location.
Keep reading to find out more about Ida’s Triada Relic Treasure Hunt – Far Cry 6!
Far Cry 6 Ída’s Triada Relic Treasure Hunt Walkthrough
| Treasure Hunt | Ida’s Triada Relic |
| Region | Madrugada |
| Sub-Region | Lozania |
| Reward | Ida’s Sigil (Head Gear) |
| XP Reward | 150 XP |
The La Triada Mural is located in Lozania; snuggled between Hideout Trova and the town of Verdera, it lies close to the place where players can meet Zenia Zayas if they’re planning for a Senõr Pinga tank in Far Cry 6.
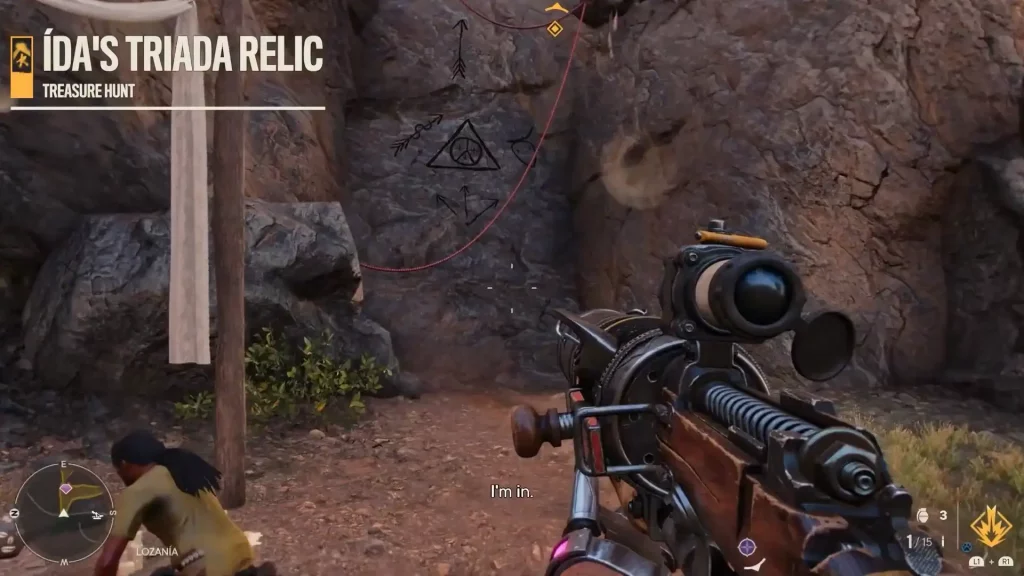
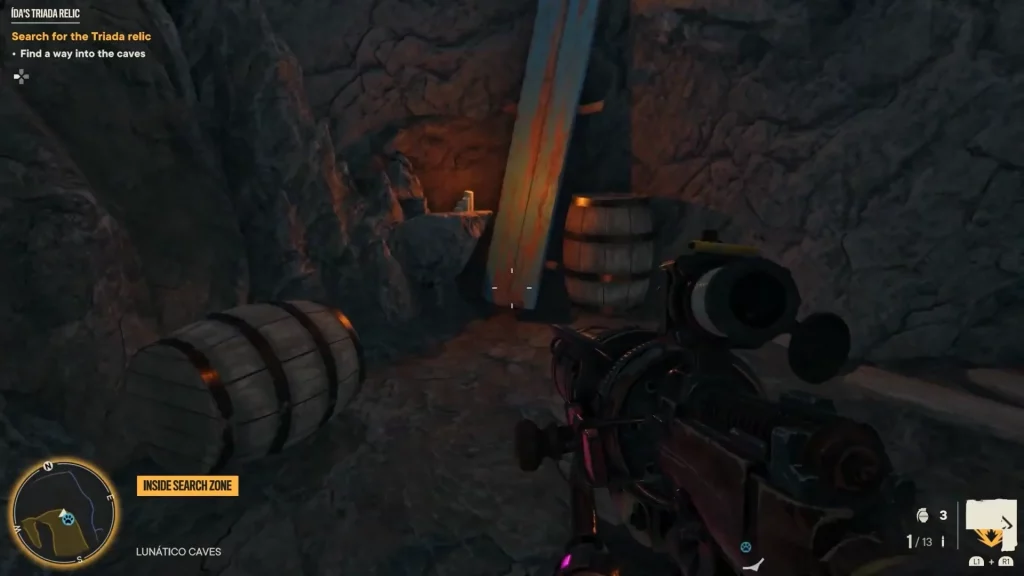
Read the note at the base of the mountain to begin this adventure. Before you start, remember that finding the Triada Relic is no cakewalk. Use the grappling point to climb up.
Vines with pretty flowers can also help you climb up to the cave. Take the help of another set of vines and then climb up the rockface.
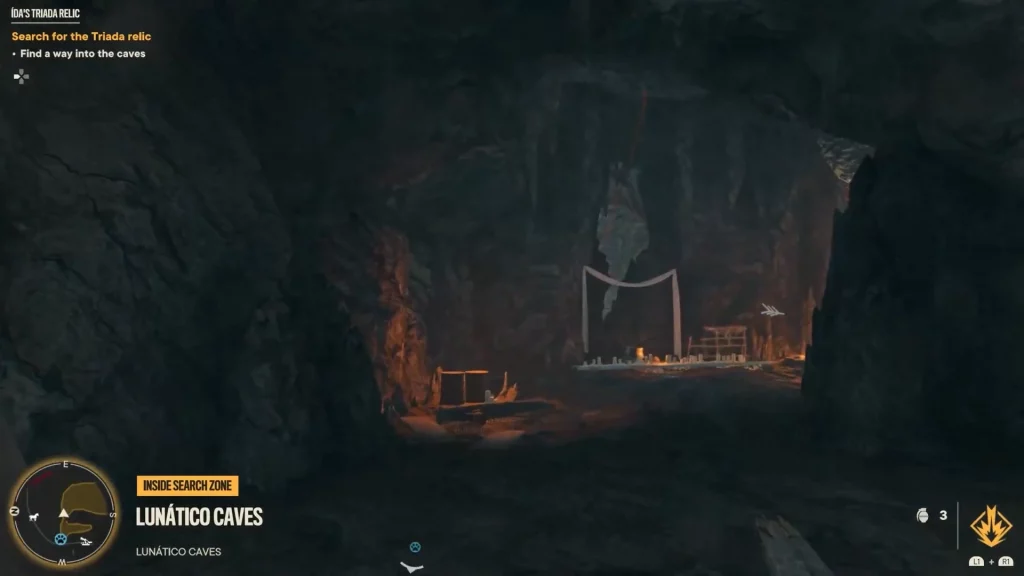
Use a grappling point to rappel down into the cave and spot purple smokes coming out of an opening. You’ll end up there eventually. Grab the zip line and detach from it on time to fall down perfectly on the second zip line.
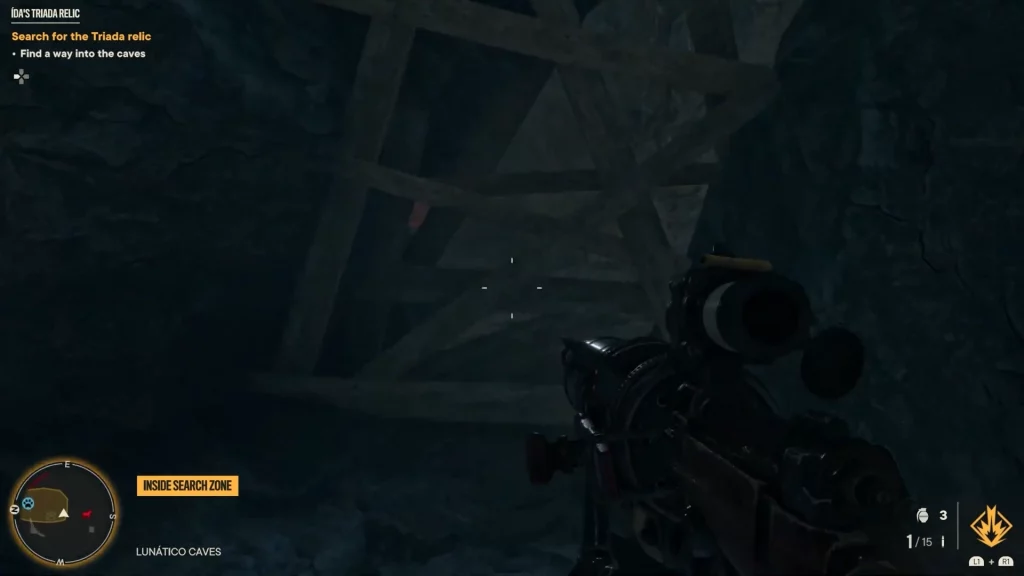
Climb up the rocks at the end of line 2. Detach from the ziplines two times and once from the first down to the second and then down on the third one till it ends. Smash the rubble and start climbing the rockface.
Gain momentum by sprinting towards the edge and take the zipline your way up. Use the grappling point to swing over to the other side.
Shoot the wooden barricade before ziplining now. You would smash right into it otherwise. Detach before reaching the end of the line.
Use the grappling point to swing over and if you do overshoot the previous line, worry not you can climb back up again.
In the next section, you have to repeat the same actions but differently and carefully. Detach twice while ziplining. The drop in front of you will be pretty high so keeping that in mind detach a bit earlier.
Climb up the rocks once you reach the end of the third line and keep turning your camera to the other side once you’re down climbing and have reached the correct height.
Do not forget to check Jump-prompt to time it accurately.
Take the help of a ladder to reach the final sections. If you’re fretting over yet another lengthy climbing and zip lining session, you can finally put your mind at rest.
Now you just need to jump in and swim to the circled area. You will be standing below the final Zipline. Take it for the last time and keep climbing up the final sections of the rock to reach the end.
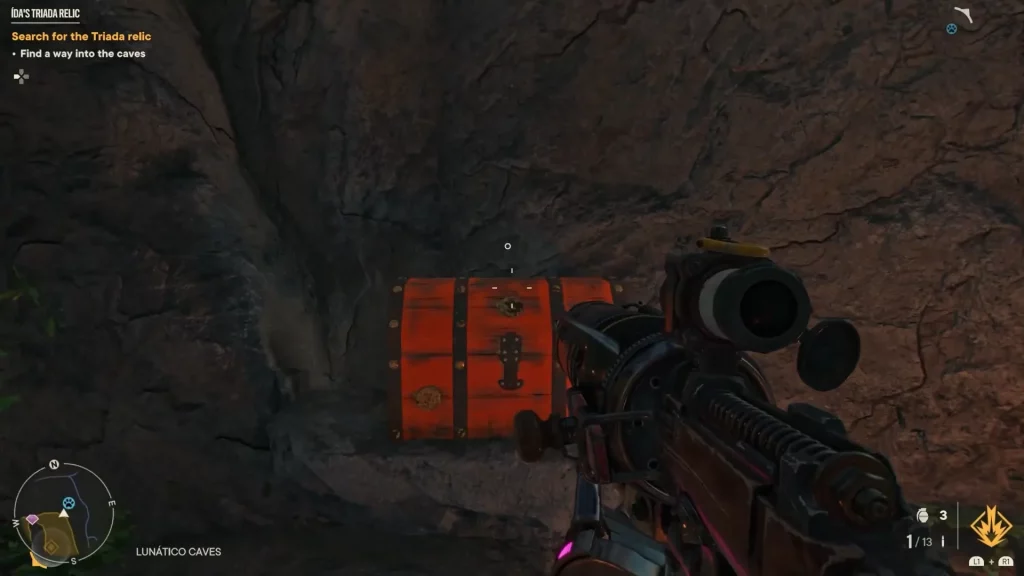
Once you have finally reached the top, grab the idol and open the chest for a tempting reward! You probably remember the way you came in by now. Take a zipline and get out of the cave in the blink of an eye.